
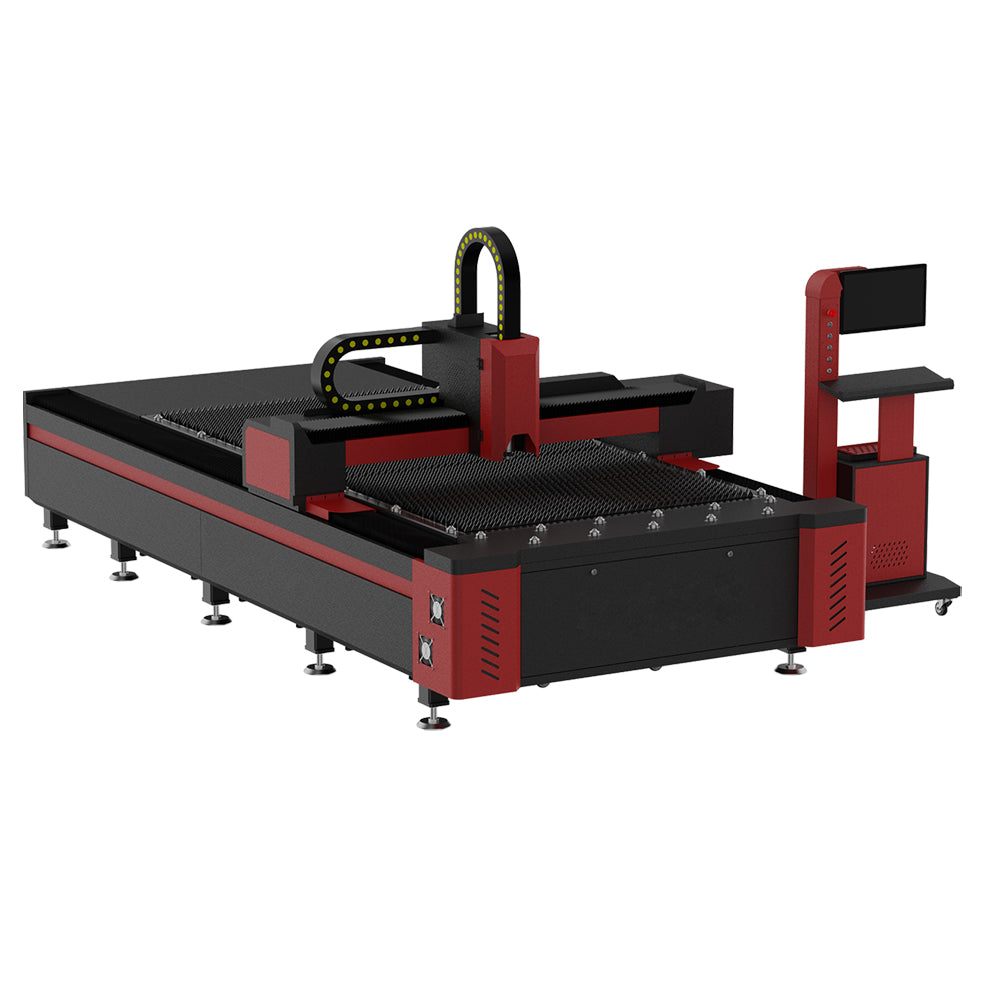
 3 kW Fiber Laser Cutting Machine
SOLUTIONS / TUBE LASER CUTTING
Tube Laser Cutting
Solutions and Workflow
Plan tube laser cutting, clamping and material handling around your parts. Review holes, slots and end profiles from incoming stock to the finished component.
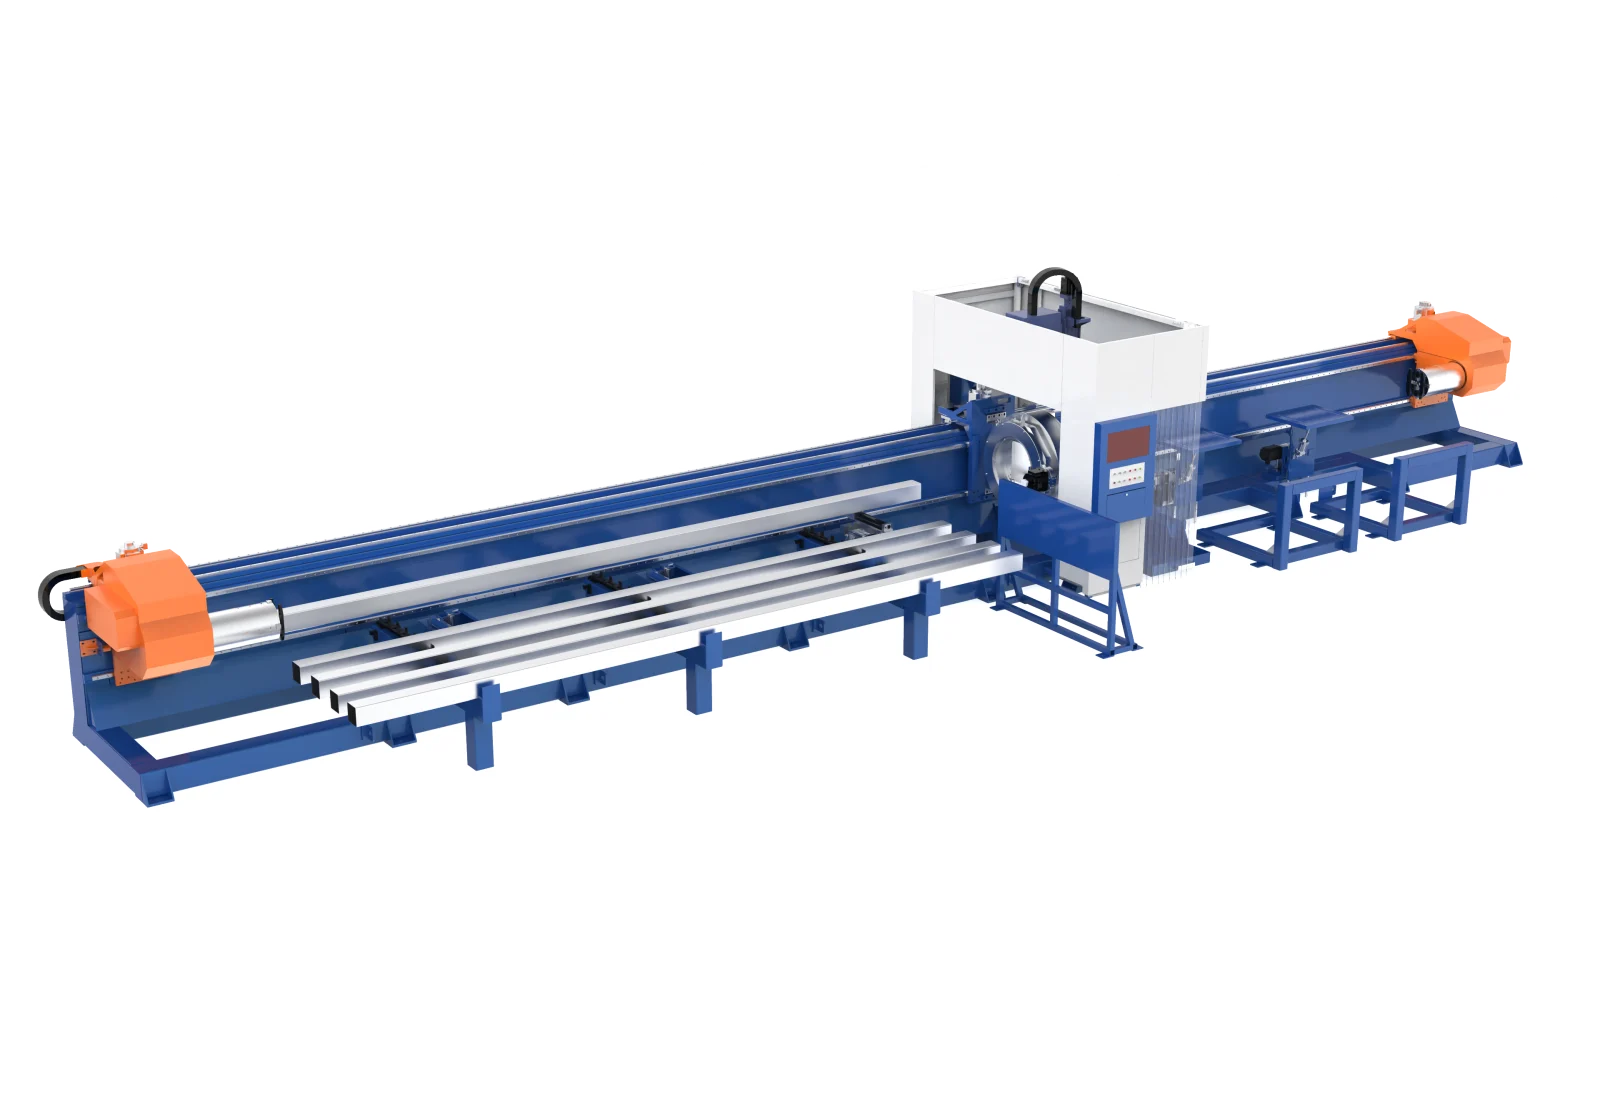
The partGrip & supportMaterial flowChoose a formatSample review
START WITH THE PART
The detail makes
the difference.
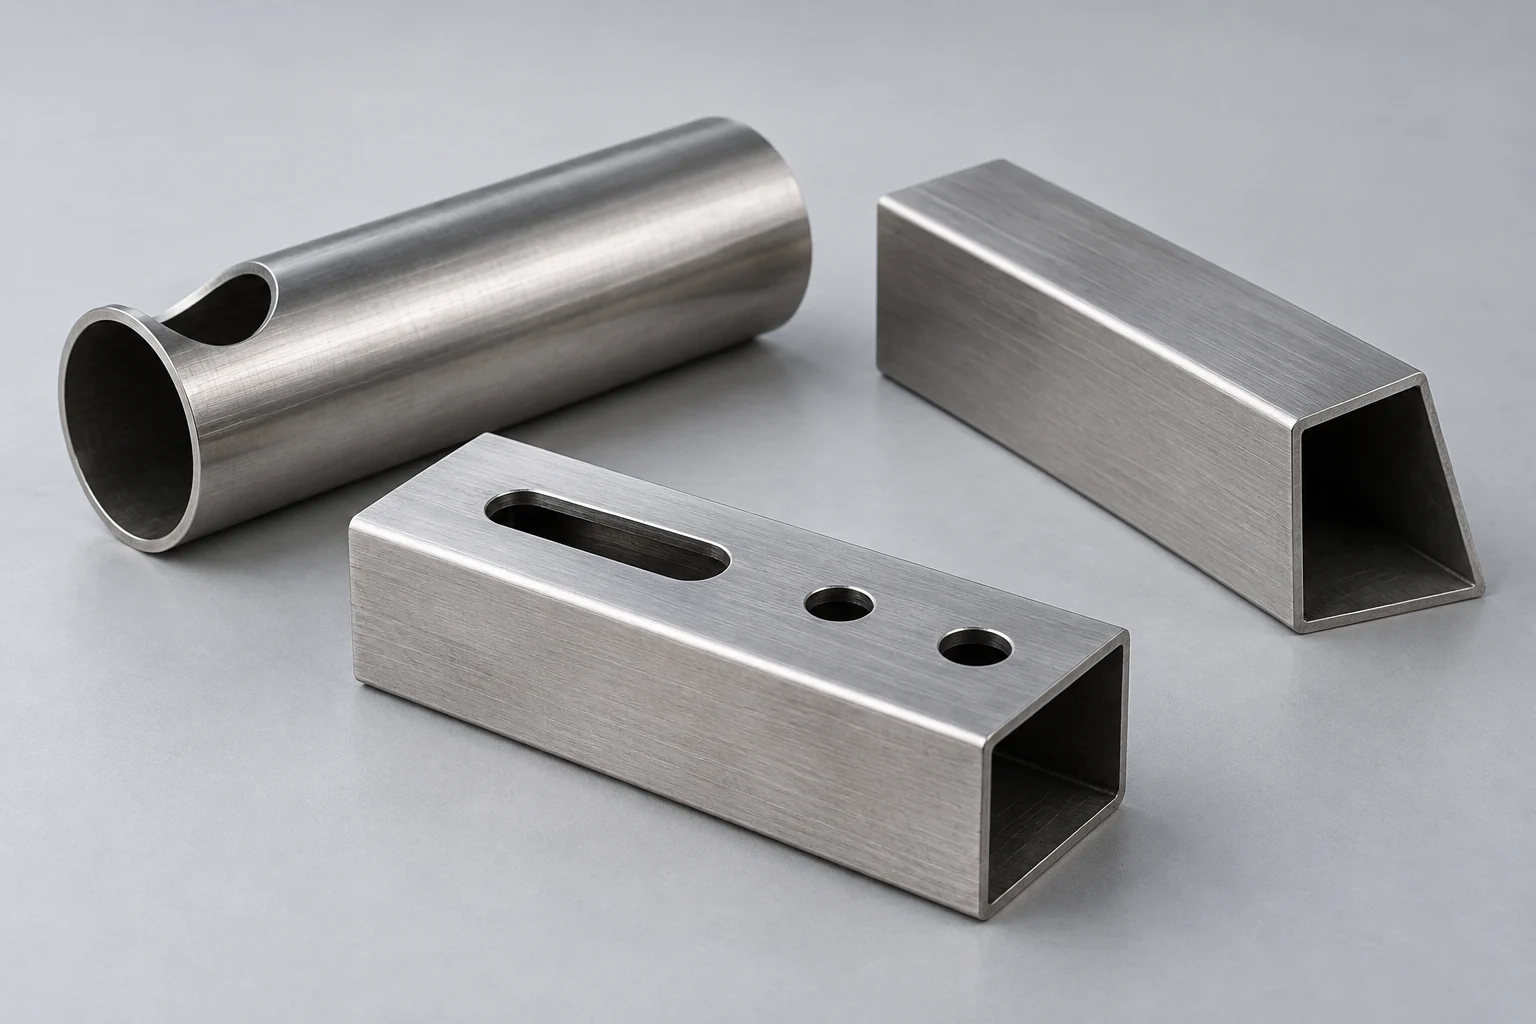
A tube becomes a component through the features cut into it. Start with the shape, then consider how it fits into the next operation.
- Holes & slotsPositions and openings defined by the finished-part drawing.
- End profilesStraight, shaped or mating ends matched to the joint.
- Assembly fitCheck the cut part against the component it joins.
GRIP. SUPPORT. POSITION.
The grip behind
the cut.
The tube section shapes the clamping plan. Jaw contact, clearance and stock support need to work together as the part moves through the cut.
- Match the section.Review outside dimensions, wall thickness, seam position and the full cross-section.
- Support the work.Follow the stock through feeding and rotation, then support the finished part before release.
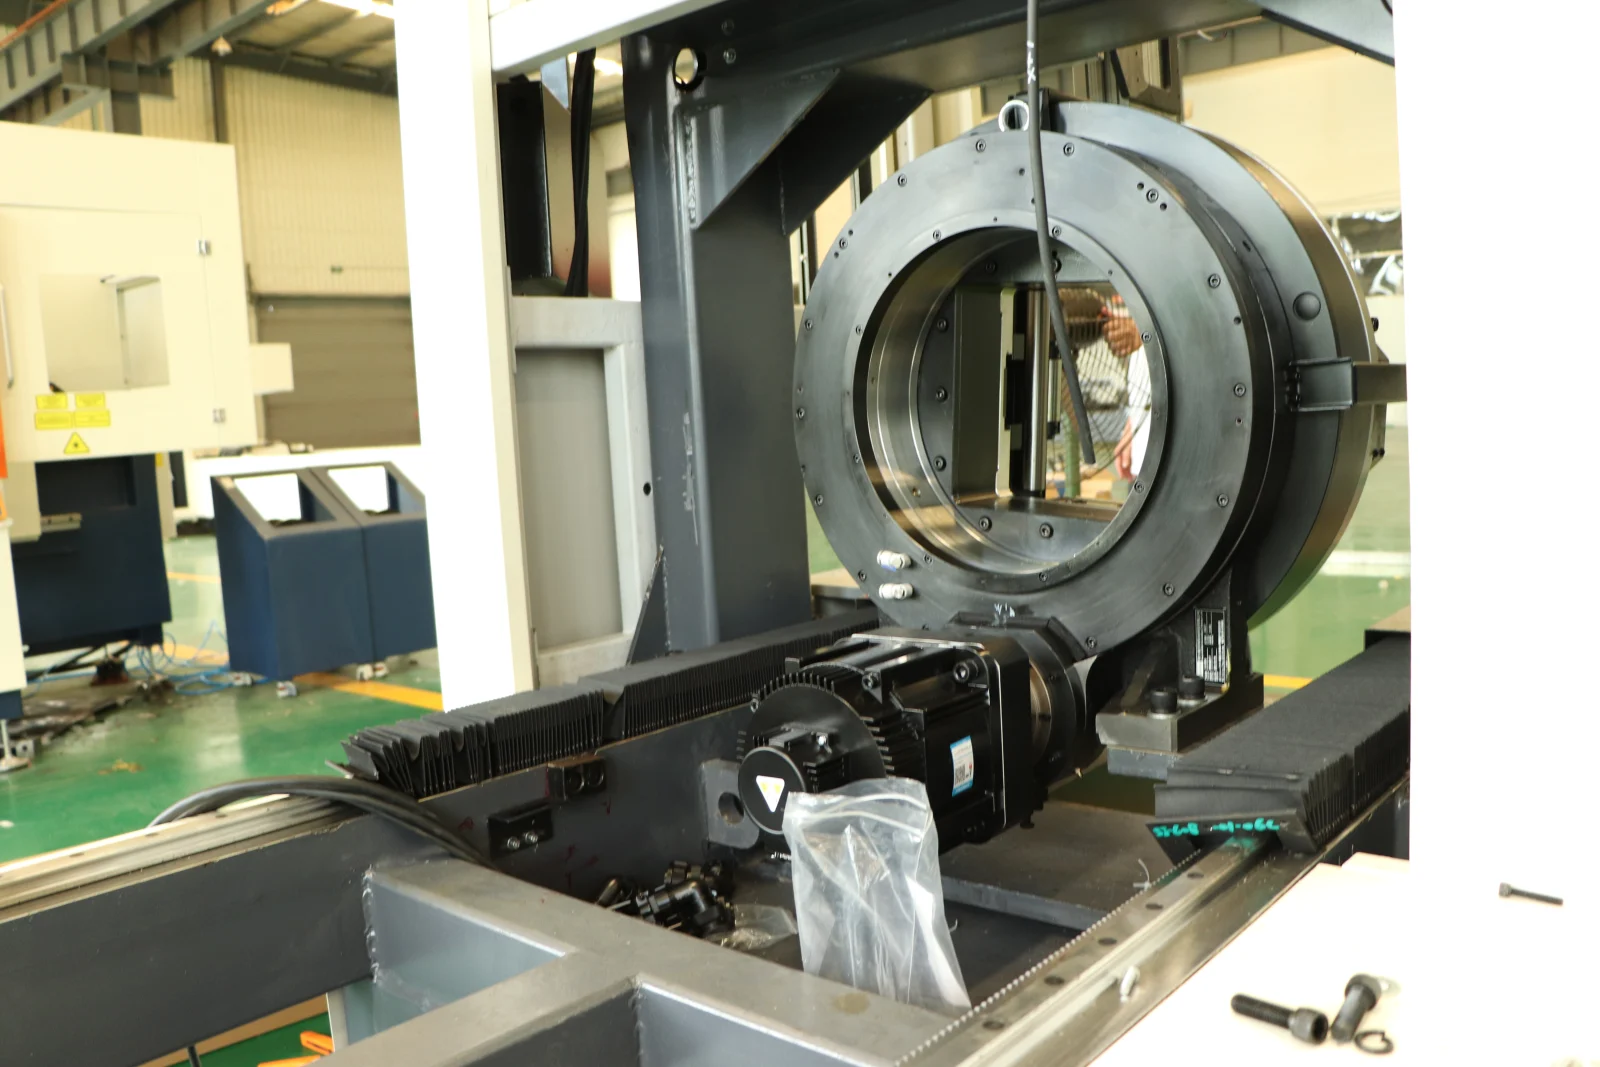
Chuck count alone does not define usable material length. Confirm the jaws, supports and remaining stock with the proposed configuration.
ONE CONNECTED PROCESS
Follow the material.
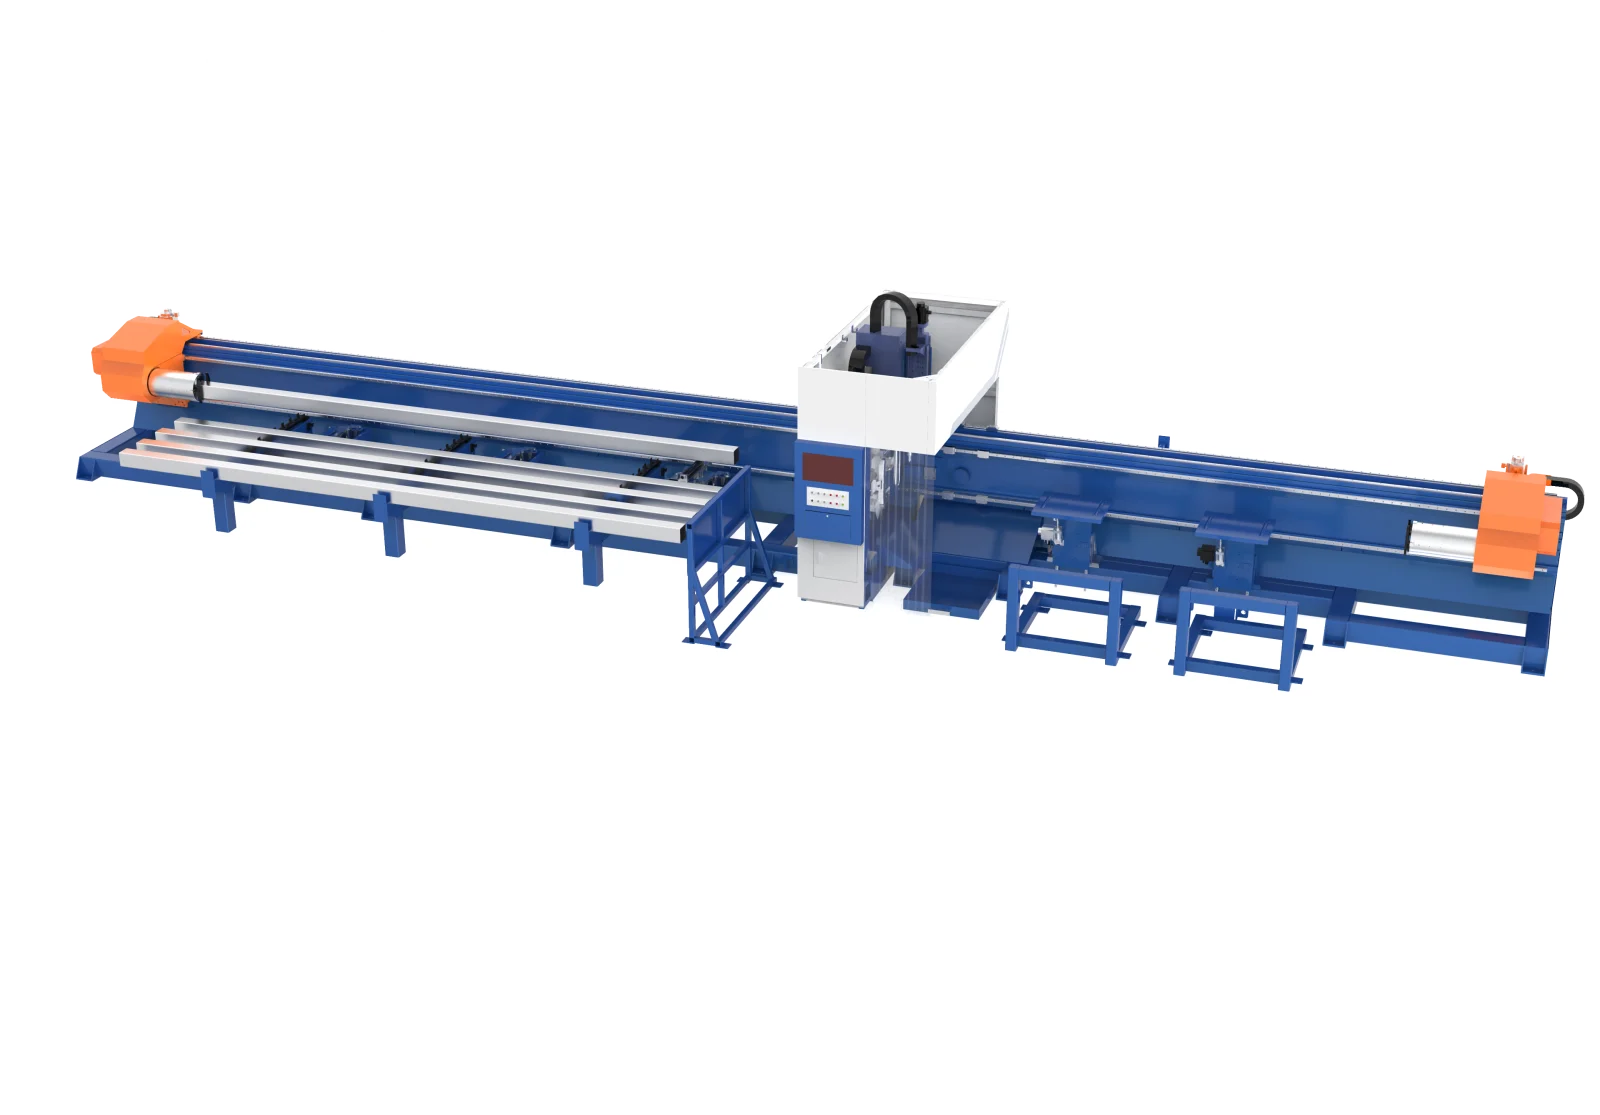
From incoming stock to collected parts, handling is part of the cutting setup.
01
Load & orient
Separate and present the stock. Match manual, semi-automatic or automatic loading to the section, length and batch.
02
Clamp & cut
Coordinate grip, support and the cut sequence around the holes, slots and end profiles in your drawing.
03
Collect & transfer
Support the finished part, then sort and transfer it to the next operation. Include part length and weight in the plan.
Review the complete batch. Include stock changes, part removal and remaining material when comparing cycle times. Loading automation and bevel cutting are configuration choices.
CHOOSE A FORMAT
Different work.
Different setups.
Compare tube laser cutting machines around your workpiece and production mix. Then define the equipment that supports it.
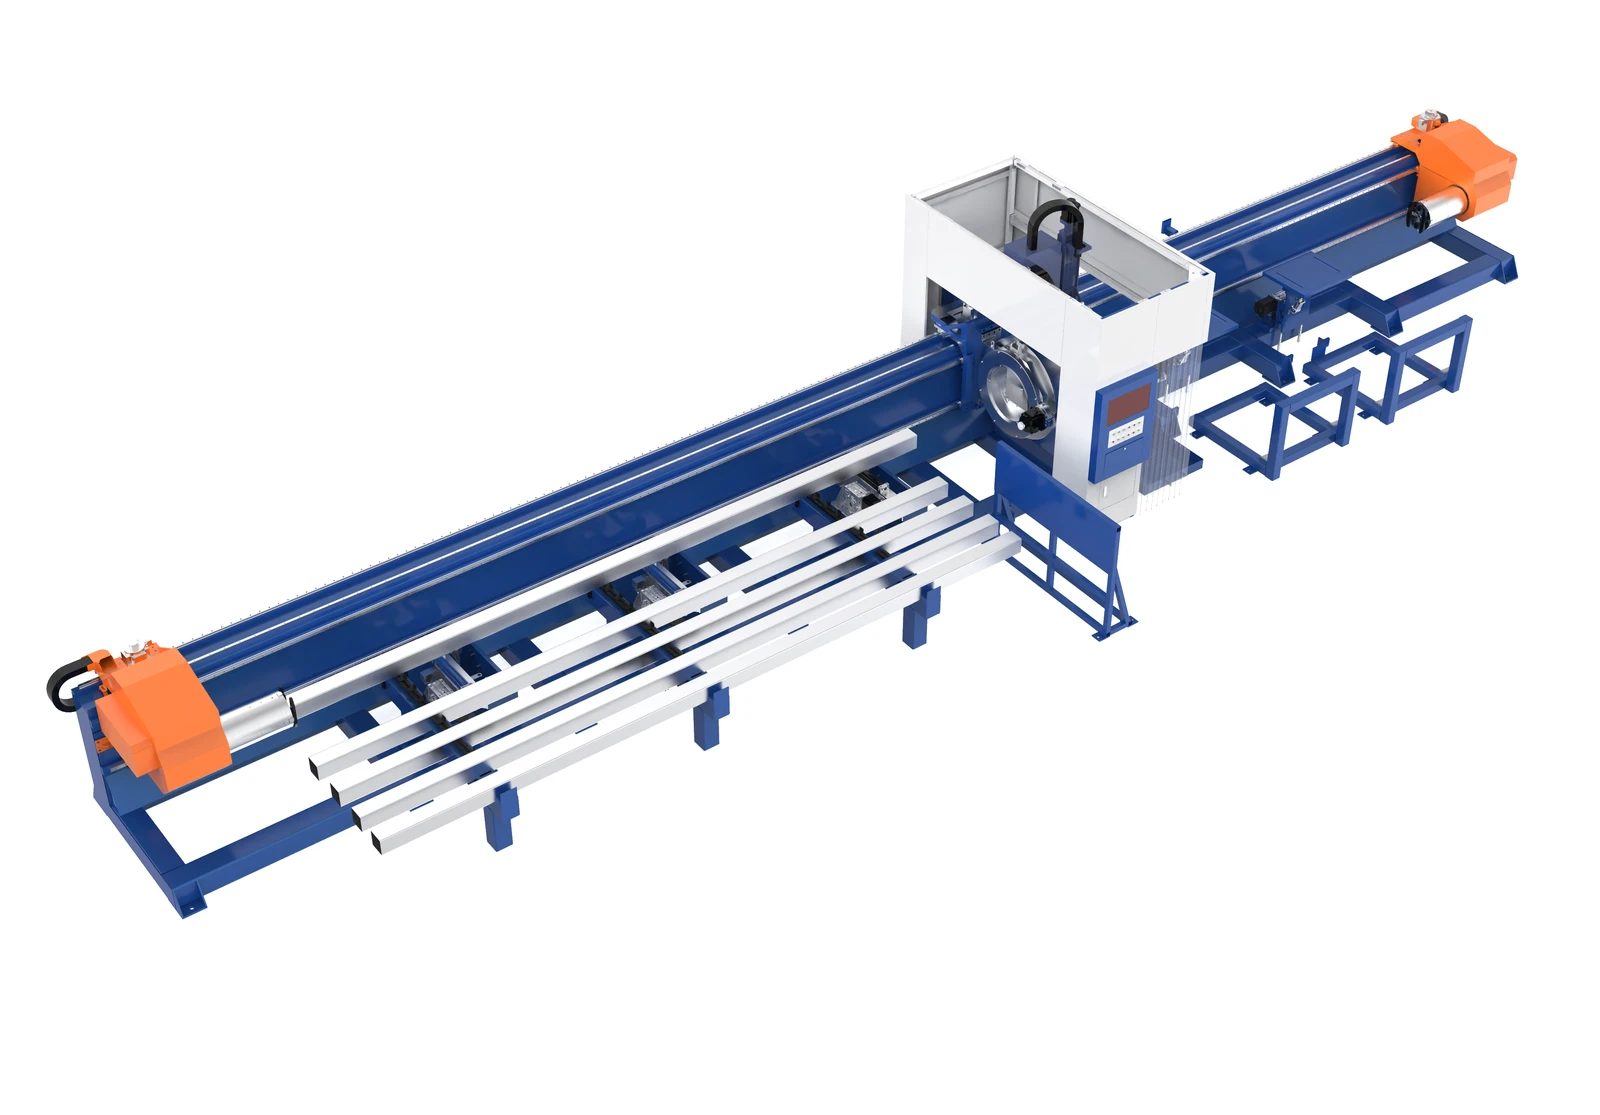
Dedicated tube cutting
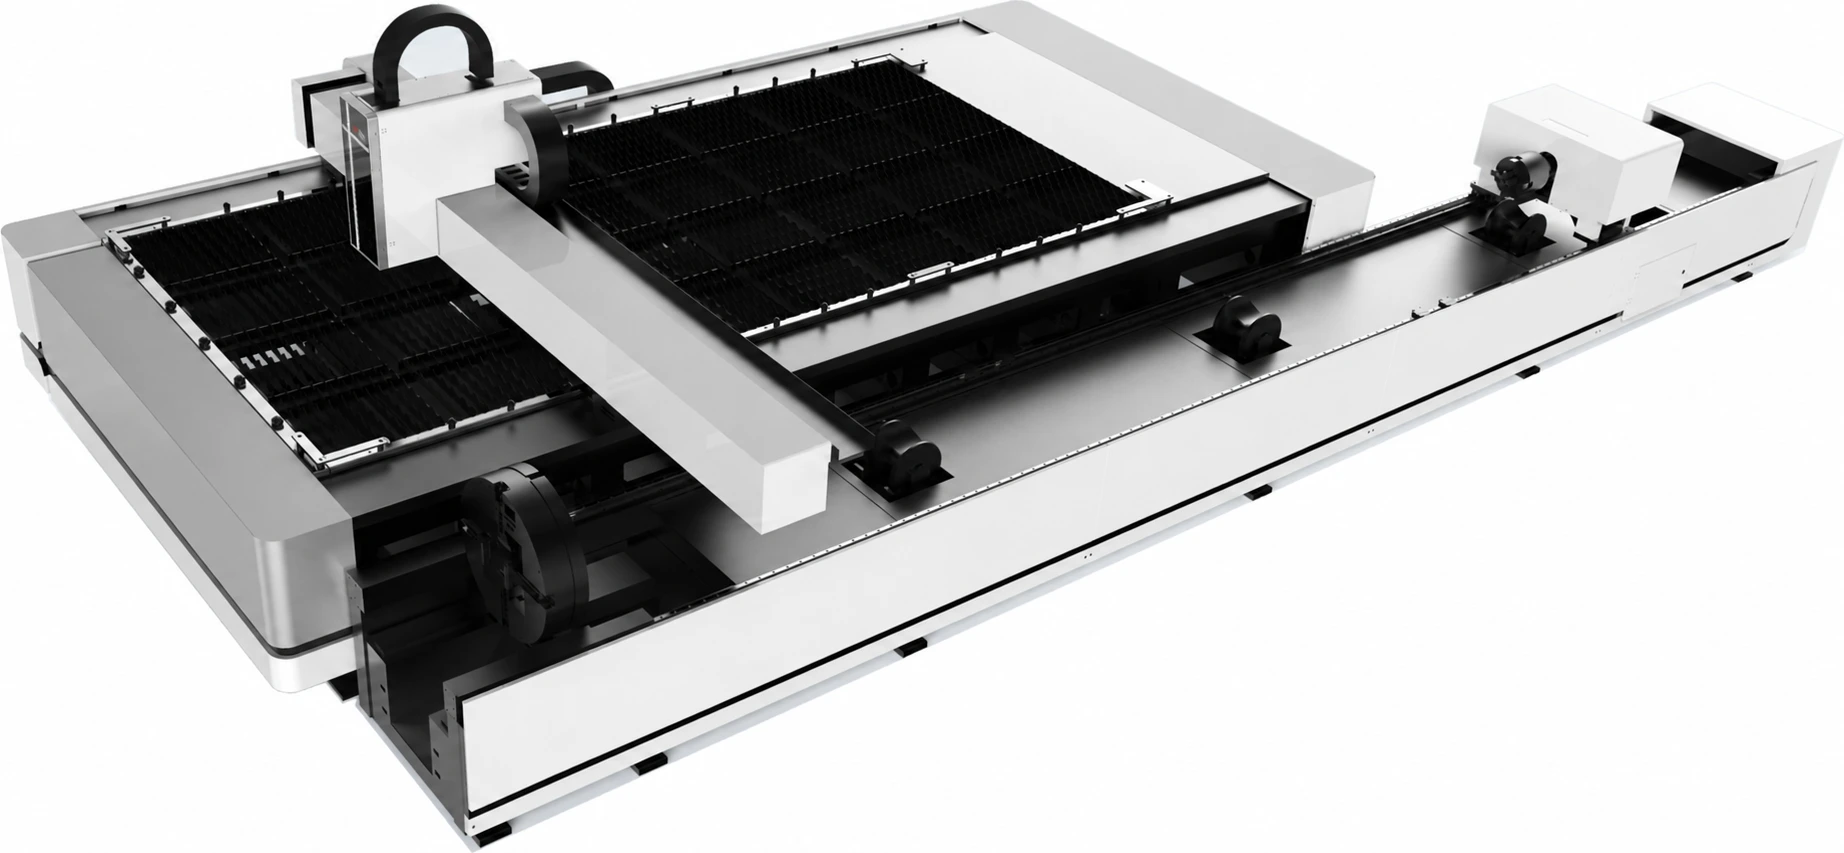
Sheet & tube cutting
| Selection point | Dedicated tube cutting | Sheet & tube cutting |
|---|---|---|
| Your workload | Tube and profile work | A mix of sheet and tube work |
| Plan around | Stock length, section changes, clamping and part collection | Sheet size, tube requirements and the balance of jobs |
| Handling review | Tube loading, support and unloading | Sheet loading plus the tube handling arrangement |
| Define first | Typical sections, part lengths and batch sizes | Job mix, changeovers and shared equipment |
| Explore the equipment | View tube-cutting system | View sheet & tube system |
MAKE IT YOUR PROJECT
Put your drawing
to the test.
Use a representative part to agree what the cut, the fit and the handling should demonstrate.
Bring these three things.
- The sectionMaterial grade, wall thickness, cross-section, stock length and weight.
- The part drawingFinished length, holes, slots, end profiles and critical mating dimensions.
- The production briefQuantities, loading and collection needs, and checks to record with the sample.
Keep the input, selected configuration and measurement record with the sample.