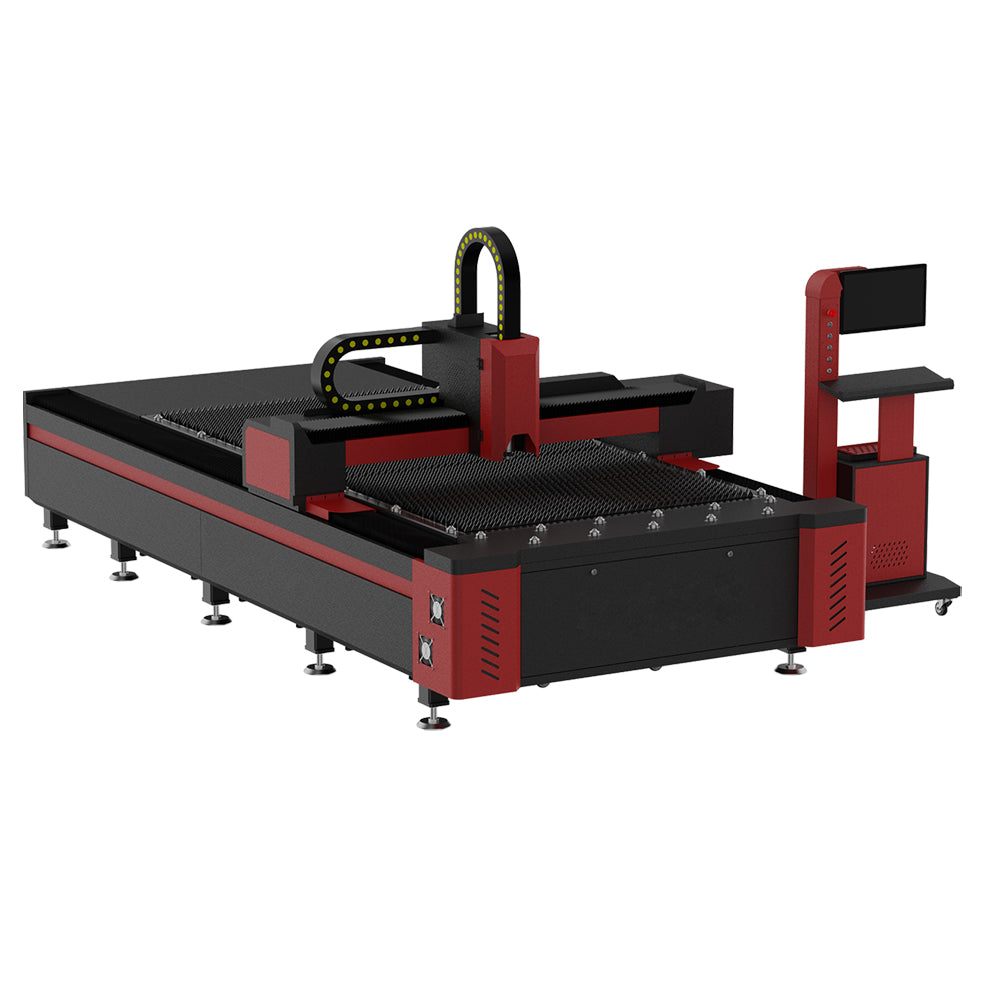
 3 kW Fiber Laser Cutting Machine
How to Choose a Metal 3D Printer for Your Parts
Plan the complete metal printing workflow, from the part model and powder specification to finishing, inspection and equipment scope.
Choosing a metal 3D printer starts with the finished part and the workflow needed to deliver it. For a laser powder bed fusion project, compare geometry, material, preparation and finishing together. A build envelope or laser rating is only one part of the selection; the sample and equipment proposal should demonstrate how your complete part will be made.
Define the part and the manufacturing route
Supply a dimensioned 3D model, its revision and a drawing identifying the surfaces and features that will be inspected. State the intended use, quantity and final condition. A development sample, a finished housing and a production component can require different evidence even when their outside dimensions match.
Laser powder bed fusion builds metal parts layer by layer from powder using a laser, as described in 3D Systems’ metal printing overview. This guide focuses on that workflow, including the SLM process listed for the GLB-120M metal 3D printer. Do not treat a demonstration from another additive process as a validation of your proposed setup.
Review usable build space with the actual geometry
Ask for a proposed build layout showing part orientation, supports and the space needed around the geometry. Check the complete build, not just the finished part’s bounding dimensions. Discuss access for powder removal, support removal and separation from the plate before accepting a layout.
For several parts in one build, review spacing and how the parts will be identified after removal. If a supplier estimates production time, request its boundaries: preparation, building, cooling, removal and finishing may be separate operations. Use the same finished-part requirements when comparing layouts or machines.
Match the powder, parameters and gas to the alloy
Name the alloy you need and the final material properties or inspection requirements. Ask which powder specification and parameter set the supplier proposes for that material on the selected machine. A general alloy name in a catalogue does not establish a qualified process for every powder source, geometry or final condition.
Review powder receipt, identification, storage, recovery and changeover with the supplier. Establish how powder lots and any permitted reuse are recorded. Have the responsible site team review the equipment instructions and material documentation when defining handling arrangements. Confirm the specified protective gas, supply requirements, filtration and monitoring rather than choosing a gas from an unrelated machine’s brochure.
Budget for the steps after printing
Define which operations happen in your workshop and which are outsourced. The route may include powder removal, plate separation, support removal, heat treatment, machining or surface finishing. Sequence and requirements depend on the part and material; ask for a written route to the condition you intend to inspect.
| Stage | Decision to make before purchase |
|---|---|
| Build preparation | Who prepares orientation, supports and slicing data, and which software is included? |
| Powder and part removal | Which equipment, handling arrangements and operator training are required? |
| Finishing | Which surfaces need machining or finishing, and who supplies that work? |
| Inspection | What is measured, in which condition, and which records travel with the part? |
Include supporting equipment and outsourced services in the procurement comparison. A printer-only quotation cannot establish the cost or readiness of the entire production route. Discuss site preparation and training through the equipment support overview.
Use a representative sample to test the decision
Choose a part containing the features that drive your requirements: internal passages, thin features, mating surfaces or areas that need finishing. Agree the model revision, material, orientation and final condition before the build. Record the proposed machine configuration and the agreed process route with the sample.
- Mark the dimensions, surfaces and material checks required for acceptance.
- Request the actual build layout and identify deviations from the proposed plan.
- Record finishing operations so an as-built sample is not compared with a finished one.
- Review the result with the team responsible for the next production operation.
The sample preparation guide helps organise the record. Bring the reviewed result into the quotation checklist, including software, powder-related equipment, utilities, training and service scope. Explore the metal 3D printing range or discuss a metal printing sample with your part model and material requirements.
Further manufacturer reading
Markforged’s overview of metal printing processes explains differences between powder bed and other additive methods, including the removal and post-processing stages. Use it to clarify process terminology when reviewing proposals.